
No products in the cart.

—
Introduction – Why a Simple Strip of Tape Can Be a Lifesaver
Imagine walking through a construction site, a warehouse, or a public event without any visual cues warning you of hidden dangers. One misplaced step could lead to a costly injury, a shutdown, or even a legal battle. That’s where warning tape steps in – a low‑cost, high‑impact tool that instantly communicates hazards, controls access, and keeps people safe.
But warning tape isn’t just a bright strip of plastic; it’s a versatile safety solution that comes in countless colors, materials, and compliance grades. Whether you’re a site manager, safety officer, or DIY enthusiast, understanding the right tape for the right job can mean the difference between smooth operations and a preventable accident. In this 1,000‑word deep dive, we’ll explore everything you need to know about warning tape and the “more” that surrounds it— from industry‑specific applications to buying guides, installation hacks, and sustainability tips. Let’s roll out the safety line!
—
1. Decoding Warning Tape: Types, Features, and Key Terminology
1.1. Color Coding – The Universal Language of Safety
| Color | Typical Meaning | Common Use Cases |
|——-|—————-|——————|
| Red | Danger, stop, fire hazards | Fire extinguishers, emergency shut‑offs |
| Yellow | Caution, trip hazards, low‑level danger | Construction perimeters, floor markings |
| Orange | High‑visibility warning, equipment isolation | Heavy machinery, electrical panels |
| Green | Safety equipment, first‑aid locations | First‑aid stations, safety exits |
| Blue | Mandatory actions, informational | PPE zones, directional guidance |
Choosing the correct color isn’t just aesthetic—it’s a compliance requirement under OSHA (Occupational Safety and Health Administration) and ANSI (American National Standards Institute) standards.
1.2. Material Matters
| Material | Pros | Cons | Ideal Environments |
|———-|——|——|——————–|
| Polypropylene (PP) | Lightweight, inexpensive, UV‑resistant | Less durable under heavy abrasion | Temporary site fencing, indoor use |
| Polyethylene (PE) | Strong, flexible, water‑resistant | Slightly less UV resistant than PP | Outdoor construction, wet conditions |
| Vinyl (PVC) | Highly durable, tear‑proof, printable | Heavier, higher cost | Long‑term installations, industrial plants |
| Reflective (Glass Bead) Tape | Night‑time visibility, high contrast | More expensive, limited color options | Roadwork, night‑shift warehouses |
1.3. Width, Length, and Print Options
- Standard widths range from 2 inches (5 cm) to 12 inches (30 cm). Wider tape provides greater visibility for larger hazards.
- Lengths are sold on rolls (typically 25 ft, 50 ft, 100 ft) or pre‑cut sheets for quick deployment.
- Custom printing (logos, QR codes, bilingual warnings) adds brand consistency and can guide workers to safety resources instantly.
- Perimeter control: Use orange or yellow tape to cordon off excavations, crane zones, and scaffoldings.
- Equipment isolation: Wrap red tape around energized electrical panels or gas lines before maintenance.
- Fall protection: Apply bright yellow tape along edges of open floors or roof decks to alert workers of drop‑offs.
- Aisle marking: Green or blue tape can designate safe walkways versus forklift routes.
- Spill zones: Yellow tape with “Caution – Wet Floor” stencils alerts personnel to temporary hazards.
- PPE zones: Use orange or red tape to demarcate areas where hard hats, safety glasses, or hearing protection are mandatory.
- Queue management: Use colored tape to guide lines, prevent bottlenecks, and maintain social distancing.
- Emergency exits: Green tape leading to exits ensures quick evacuation during emergencies.
- Restricted areas: Red tape around stage backdrops, sound equipment, or VIP zones keeps unauthorized personnel out.
- Lane closures: Reflective orange tape with alternating black-and-white stripes warns drivers of upcoming work zones.
- Hazard markers: Red reflective tape around broken-down vehicles or debris alerts night‑time traffic.
- Parking control: Yellow tape outlines temporary no‑parking zones near construction sites.
- Low‑risk (visual cue only): Yellow or green PP tape, 2‑4 inches wide.
- Medium‑risk (potential injury): Orange or red PE tape, 4‑6 inches wide, with printed warnings.
- High‑risk (life‑threatening): Reflective vinyl tape, 6‑12 inches wide, meeting ANSI Z535.5 standards.
- OSHA 1910.22 for walking‑working surfaces.
- ANSI Z535 series for color, safety symbols, and performance criteria.
- ISO 7010 for internationally recognized safety signs (if you operate globally).
- UV exposure: Choose UV‑stabilized PP or PVC.
- Moisture: Opt for PE or vinyl with water‑resistant backing.
- Temperature extremes: Vinyl maintains flexibility in cold climates, while PP can become brittle below -20 °C.
- Short‑term projects: Bulk PP rolls provide cost savings (as low as $0.12 per foot).
- Long‑term installations: Invest in premium vinyl or reflective tape (approximately $0.30–$0.45 per foot) to avoid frequent replacements.
- Print your logo for brand consistency.
- Add QR codes linking to safety manuals or incident‑report forms.
- Select multilingual text for diverse workforces.
- Straight lines: Use a tape dispenser with a built‑in cutter for clean edges.
- Curves and corners: Apply the tape slowly, overlapping the edge by ½ inch to prevent gaps.
- High‑traffic zones: Reinforce with double‑layered tape or add adhesive backing for extra hold.
- Visibility audit: Walk the area at different times of day; ensure tape remains highly visible under natural and artificial light.
- Distance compliance: For roadwork, place tape at least 10 feet from the hazard to give drivers reaction time.
- Documentation: Photograph tape placement for safety audits and regulatory inspections.
- Heat gun or hair dryer can soften adhesive for clean removal without damaging surfaces.
- Re‑apply only if the tape shows no tears, fading, or loss of reflectivity. Otherwise, replace to maintain safety integrity.
- Conduct weekly visual checks on high‑traffic areas.
- Replace any tape that is faded, torn, or peeling—even minor wear compromises effectiveness.
- Keep rolls flat and away from direct sunlight.
- Store in a dry, temperature‑controlled environment (ideally 15‑25 °C).
- Use sealed containers to prevent dust accumulation.
- Recycled PP tape offers comparable performance while reducing plastic waste.
- Biodegradable PE options are emerging for short‑term projects in environmentally sensitive zones.
- Partner with suppliers who practice closed‑loop recycling—they can take back used rolls for re‑processing.
- Bulk purchasing reduces per‑foot cost and ensures you never run out during emergencies.
- Standardize colors across sites to streamline inventory and training.
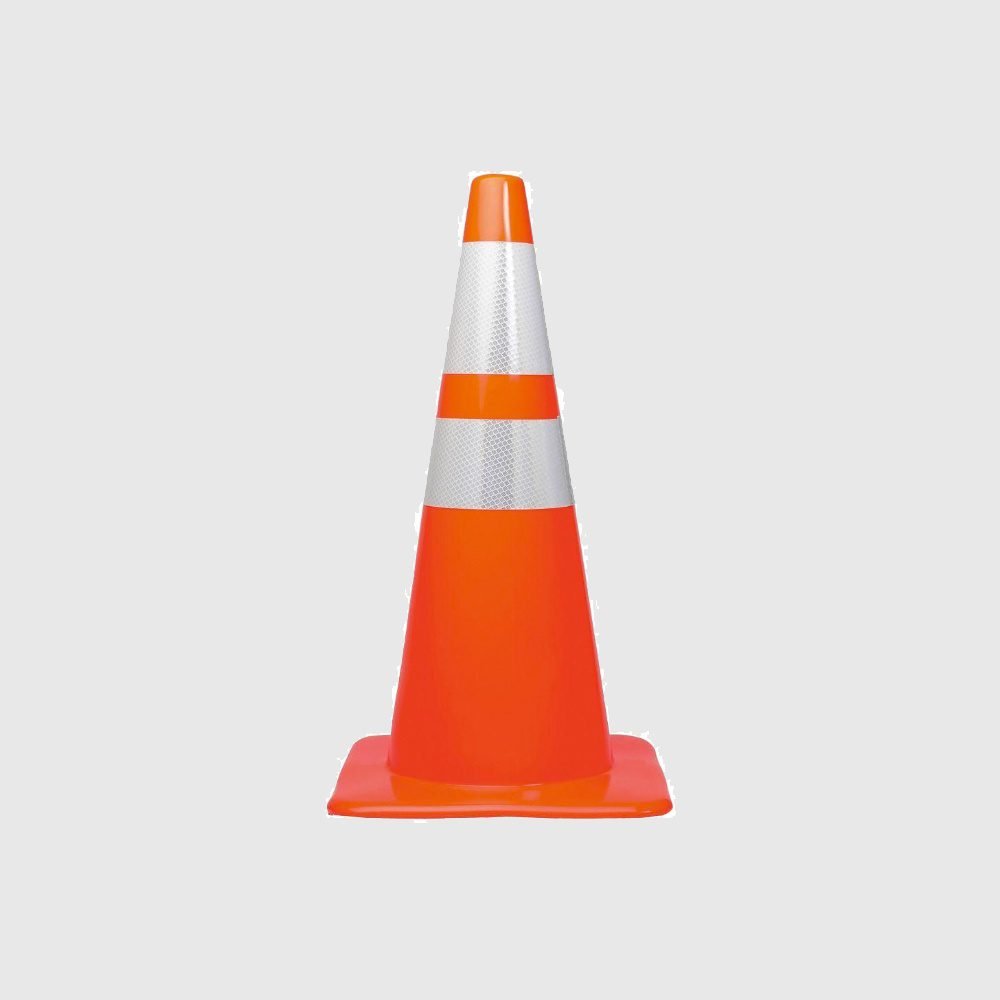
- Combine tape with reusable barriers (e.g., plastic cones) to create a hybrid safety system that lasts longer.
SEO tip: Sprinkle keywords like “custom printed warning tape,” “reflective safety tape,” and “industrial safety tape” naturally throughout your product pages to capture search traffic.
—
2. Real‑World Applications: Where Warning Tape Saves the Day
2.1. Construction Sites – The Classic Playground
Actionable tip: Pair warning tape with caution signs and cone barriers for a layered safety system that complies with OSHA 1926.501.
2.2. Manufacturing & Warehouses – Keeping the Flow Safe
Pro tip: Combine tape with floor‑level reflective strips for night‑shift visibility, reducing slip‑and‑fall incidents by up to 30 % according to industry studies.
2.3. Public Events & Venues – Crowd Control Made Easy
Actionable tip: Deploy weather‑resistant PE tape for outdoor festivals; it resists rain, wind, and UV degradation for up to 12 months.
2.4. Transportation & Roadwork – Visibility at Speed
Best practice: Follow the Manual on Uniform Traffic Control Devices (MUTCD) for tape placement distances and patterns to avoid driver confusion.
—
3. Buying Guide: How to Choose the Right Warning Tape for Your Needs
3.1. Identify the Hazard Level
3.2. Verify Compliance and Certification
Ask suppliers for Material Safety Data Sheets (MSDS) and Compliance Certificates before purchasing.
3.3. Factor in Environmental Conditions
3.4. Budget vs. Longevity
3.5. Customization Options
SEO tip: Use long‑tail keywords such as “custom printed reflective warning tape for construction” to attract niche buyers.
—
4. Installation & Best‑Practice Tips – Getting the Most Out of Your Tape
4.1. Surface Preparation
1. Clean the area – Remove dust, oil, or moisture.
2. Dry completely – Wet surfaces reduce adhesive strength for self‑adhesive tapes.
3. Smooth out irregularities – Use a utility knife to trim protrusions that could snag the tape.
4.2. Application Techniques
4.3. Safety Checks
4.4. Removal & Re‑use
—
5. Maintenance, Storage, and Going Green – Extending the Life of Your Safety Tape
5.1. Routine Inspections
5.2. Proper Storage
5.3. Sustainable Choices
5.4. Cost‑Saving Strategies
—
Conclusion – Key Takeaways for a Safer Workplace
1. Choose the right color and material based on hazard level, environment, and compliance standards (OSHA, ANSI, ISO).
2. Apply warning tape strategically—perimeters, equipment isolation, crowd control, and night‑time visibility are the most common high‑impact uses.
3. Follow a buying checklist: hazard rating, certifications, durability, and customization options.
4. Install with precision: clean surfaces, proper tension, and regular visibility audits guarantee effectiveness.
5. Maintain and store wisely, and consider sustainable alternatives to reduce waste and cost.
By treating warning tape not as an afterthought but as a core component of your safety program, you create a visual safety net that protects workers, visitors, and your bottom line. So next time you walk onto a site, notice that bright strip of tape—and remember: a simple line can be the difference between a safe day and an incident report.
Ready to upgrade your safety arsenal? Explore our range of custom printed, reflective, and eco‑friendly warning tapes today and keep your operations running smoothly—one safe step at a time.