
No products in the cart.

—
Introduction – Why a Harness Could Be the Difference Between a Safe Day and a Disaster
Imagine you’re on a roof, tightening a skylight, when suddenly you lose your footing. In that split‑second, the only thing standing between you and a serious injury—or worse—is the safety equipment strapped around you. That piece of equipment? A fall protection harness.
According to the Occupational Safety and Health Administration (OSHA), falls are the leading cause of death in the construction industry, accounting for roughly 33% of all construction fatalities. Yet, a properly selected, fitted, and maintained harness can reduce the risk of a fatal fall by up to 90%.
If you’ve ever wondered how to choose the right harness, how to inspect it, or how to integrate it into a broader fall arrest system, you’re in the right place. This 1,000‑word guide breaks down everything you need to know—no jargon, just clear, actionable steps to keep you and your crew safe while working at height.
—
1. Understanding the Basics: What Is a Fall Protection Harness?
1.1 Types of Harnesses
| Harness Type | Typical Use | Key Features |
|————–|————|————–|
| Full‑Body Harness | General construction, roofing, utility work | Four shoulder straps, two leg straps, D‑ring at the back, multiple attachment points |
| Positioning Harness | Climbing, confined spaces, work positioning | Designed to keep the worker upright while suspended |
| Rescue Harness | Emergency retrieval, confined‑space rescue | Quick‑release buckles, reinforced anchorage points |
| Suspension Harness | Window cleaning, maintenance on tall structures | Heavy‑duty webbing, larger load‑bearing capacity |
Full‑body harnesses are the most common for fall protection because they distribute arrest forces across the shoulders, chest, hips, and thighs, minimizing injury.
1.2 How a Harness Works in a Fall Arrest System
A fall arrest system (FAS) consists of three core components:
1. Anchor Point – A secure, load‑rated attachment that can support at least 5,000 lb (or the total system load, whichever is greater).
2. Connecting Device – Usually a self‑retracting lifeline (SRL), lanyard, or rope that links the harness to the anchor.
3. Personal Protective Equipment (PPE) – The harness itself, plus any required lanyards, shock absorbers, or rescue kits.
When a worker falls, the connecting device arrests the descent, and the harness spreads the stopping force (often up to 1,800 lb) across the body, keeping the spine, neck, and internal organs protected.
—
2. Selecting the Right Harness for Your Job
2.1 Match the Harness to the Task
- Construction & Roofing: Full‑body harness with a D‑ring at the back for a single‑point attachment.
- Window Cleaning or Maintenance: Full‑body harness with dual‑leg D‑rings for a two‑point suspension system.
- Confined‑Space Work: Positioning harness with a work‑positioning strap that allows hands‑free operation.
- ✅ Does the harness have a full‑body design?
- ✅ Is the weight‑capacity at least 25 % above the worker’s total load?
- ✅ Are adjustable leg and shoulder straps included?
- ✅ Does it have multiple attachment points for flexibility?
- ✅ Is it certified by ANSI/ASSE or EN standards?
- Hard Hats: Wear the hat under the harness’s head‑strap to avoid interference.
- Gloves: Use cut‑resistant gloves when handling rope or lanyards.
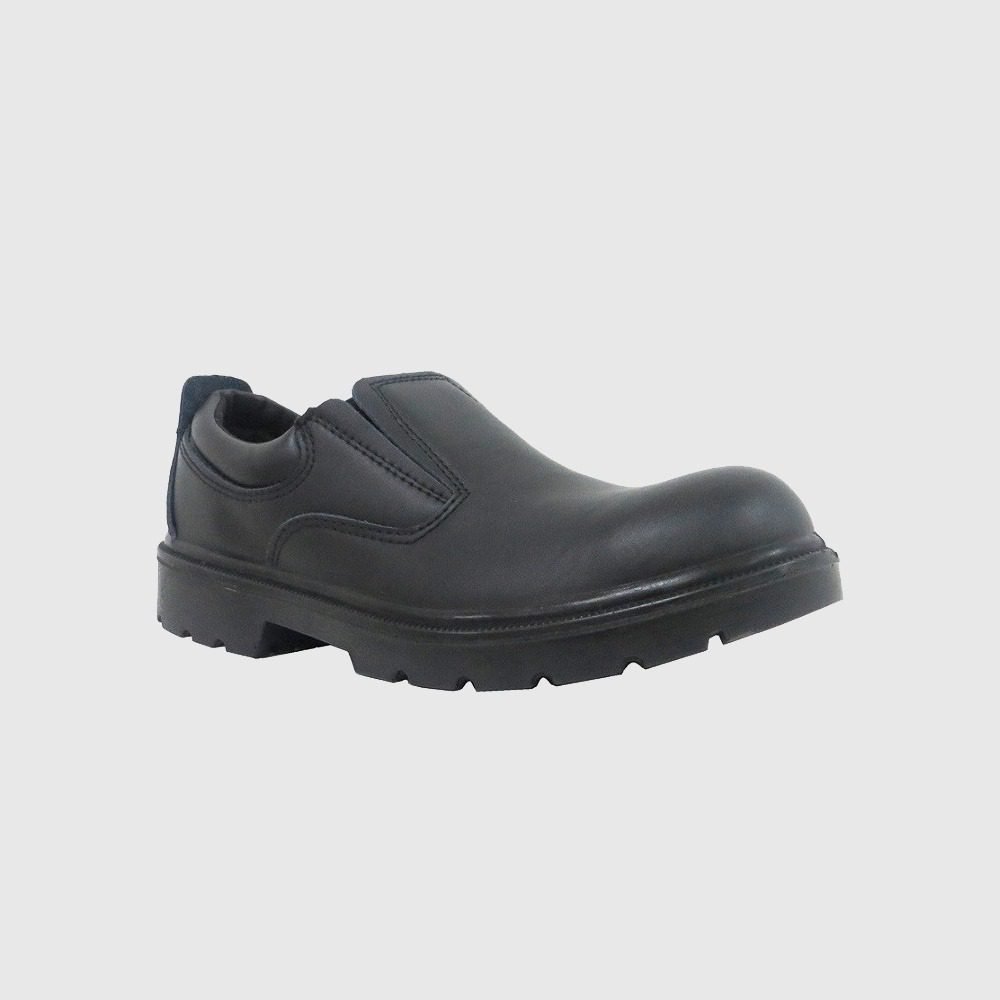
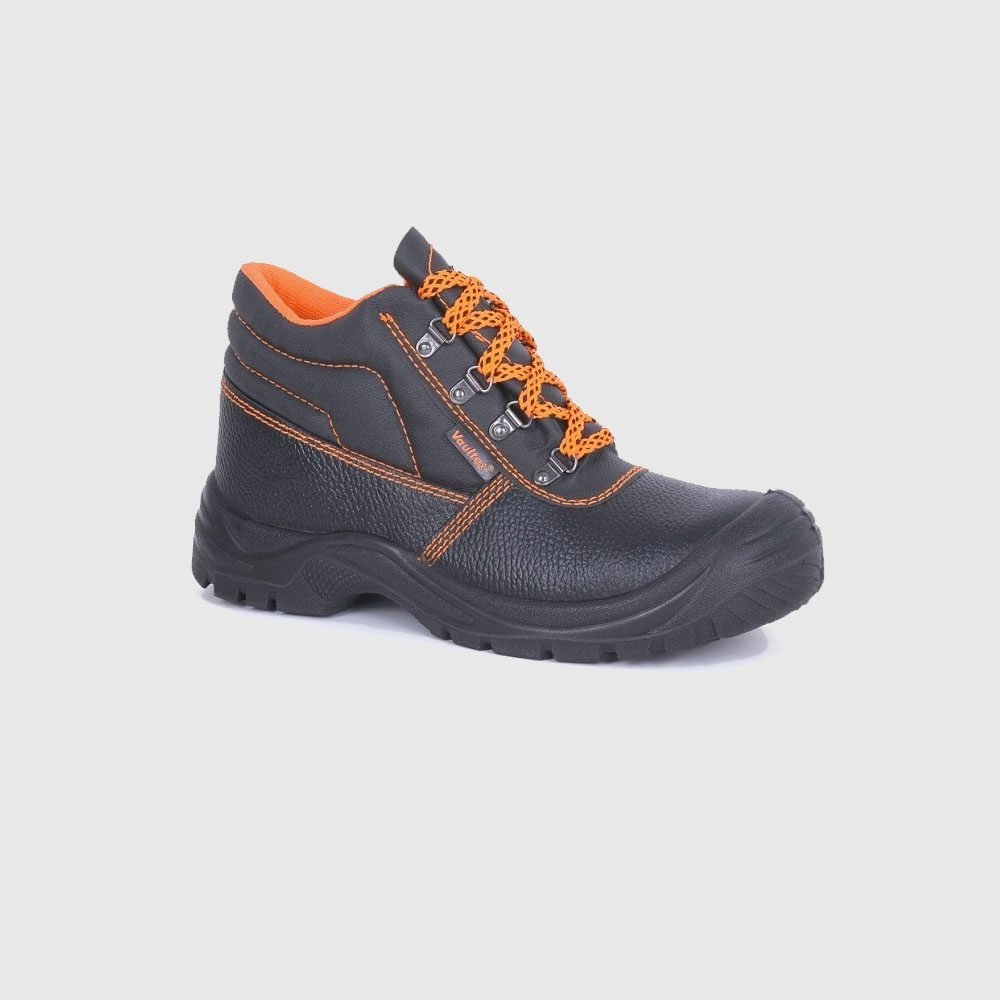
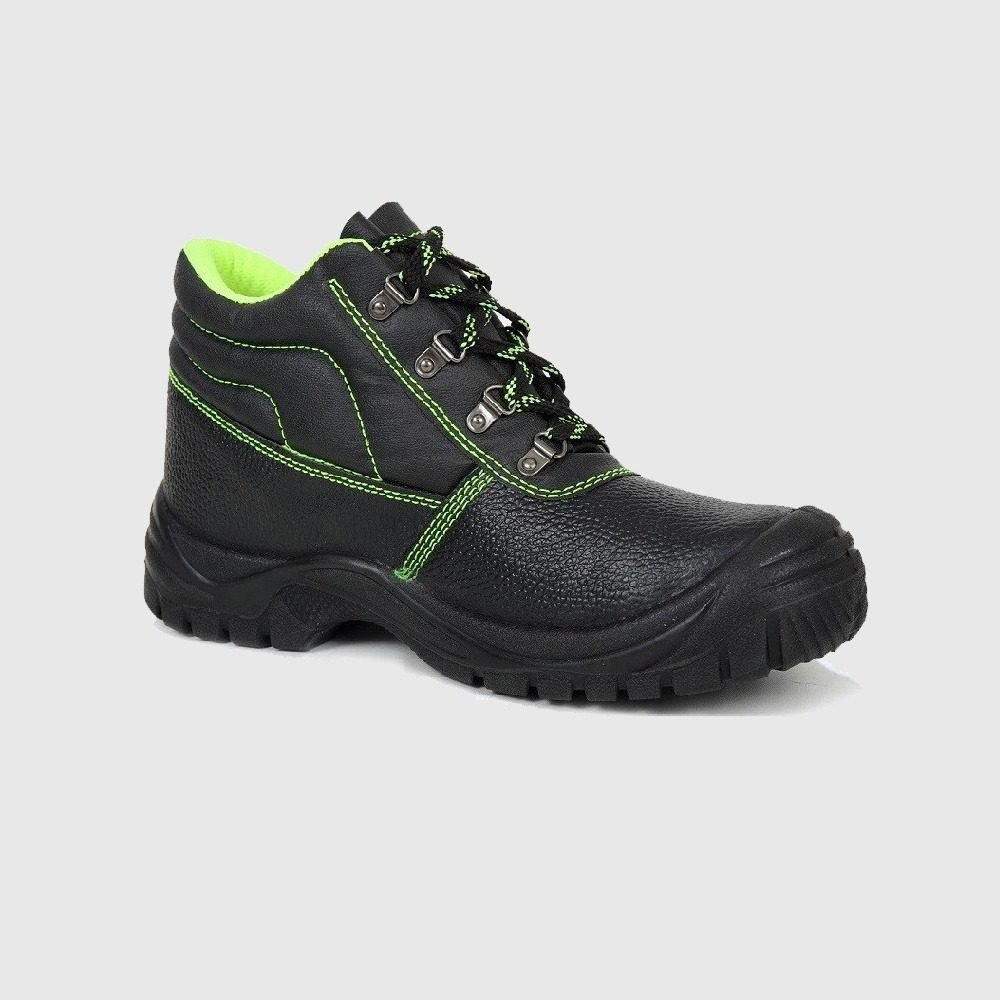
- Footwear: Steel‑toe boots provide extra protection if the worker lands on a hard surface during a fall.
- Every 6 months for high‑use harnesses (construction, roofing).
- Annually for low‑use harnesses (maintenance, occasional work).
- Clean with mild soap and water; avoid harsh chemicals that can degrade the nylon or polyester webbing.
- Air‑dry completely before storing—moisture can cause mildew and weaken fibers.
- Store in a cool, dry, and UV‑protected environment. Hanging the harness on a plastic rack (not a metal hook) prevents deformation.
- After 5 years of service, even if no visible damage exists (material fatigue).
- If any critical component (webbing, buckles, D‑ring) fails inspection.
- When the harness has been involved in a fall arrest event—the shock absorber may be compromised, even if the webbing looks fine.
- Hands‑On Training – Workers must practice donning, adjusting, and inspecting their harnesses under supervision.
- Annual Refresher Courses – OSHA requires retraining when new equipment is introduced or when a worker’s performance is unsatisfactory.
- Rescue Drills – Simulate a fall scenario and practice the rescue plan to ensure everyone knows their role.
- Inspection Logs – Date, inspector name, findings, corrective actions.
- Training Records – Attendance sheets, competency assessments.
- Equipment Inventory – Serial numbers, purchase dates, replacement schedules.
2.2 Key Specifications to Check
| Specification | Why It Matters |
|—————|—————-|
| Weight‑Capacity Rating | Must exceed the combined weight of the worker, tools, and any additional load (typically 300–400 lb). |
| Webbing Width | Wider webbing (2.5 in) offers better load distribution; narrow webbing can cause pressure points. |
| Adjustable Straps | Ensure a snug fit without restricting movement. |
| Attachment Points | Look for at least one D‑ring (back) and optional front D‑rings for rescue or positioning. |
| Compatibility with Connectors | Verify that the harness works with your SRL, lanyard, or rope‑grab system. |
2.3 Certification & Standards
Always purchase harnesses that meet ANSI/ASSE Z359.1 (U.S.) or EN 361 (EU) standards. These certifications guarantee that the harness has passed rigorous load‑testing and durability assessments.
2.4 Quick Decision Checklist
If you answered “yes” to all, you’re on the right track.
—
3. Proper Fit & Use: Getting the Harness On Like a Pro
3.1 Step‑by‑Step Fitting Guide
1. Inspect the Harness First – Look for frayed webbing, broken stitching, or damaged buckles (see Section 4).
2. Position the Harness – Slip it over the head, ensuring the D‑ring is centered on the back between the shoulder blades.
3. Adjust Shoulder Straps – Pull the straps snug so the harness sits one finger’s width from the neck.
4. Secure the Leg Straps – Buckle the leg loops, then tighten until the webbing is firm but not cutting.
5. Check the Chest Strap – If present, fasten it so the harness sits high on the chest, preventing the worker from slipping out during a fall.
6. Perform a “Hang Test” – With the worker standing, pull gently on the D‑ring; the harness should stay in place without shifting.
3.2 Common Fit Mistakes (and How to Avoid Them)
| Mistake | Consequence | Fix |
|———|————-|—–|
| Loose Shoulder Straps | Excessive movement; risk of “hang‑off” during a fall | Tighten until straps sit flat against the shoulders. |
| Leg Straps Too Tight | Circulation problems, discomfort, early fatigue | Adjust to a snug but comfortable fit; you should be able to slide a finger under the strap. |
| D‑Ring Misaligned | Uneven load distribution; increased spine stress | Center the D‑ring on the back, not off to one side. |
| Improper Buckle Orientation | Buckles can open under load | Ensure all buckles are fully engaged and the latch plates are facing the correct direction. |
3.3 Using the Harness with Other PPE
—
4. Inspection, Maintenance, and Replacement – Keeping Your Harness Ready
4.1 Daily Visual Inspection Checklist
| Item | What to Look For |
|——|——————|
| Webbing | Cuts, fraying, discoloration, UV damage |
| Stitching | Loose threads, broken seams |
| Buckles & D‑rings | Cracks, deformation, corrosion |
| Labels/Tags | Missing or illegible safety ratings |
| Metal Parts | Rust, sharp edges, worn threads |
If any defect is found, remove the harness from service immediately.
4.2 Scheduled Deep Inspections
During a deep inspection, a qualified safety professional should:
1. Measure webbing thickness with a calibrated gauge.
2. Test buckles for proper latch engagement and release.
3. Verify that the load‑rating label is still legible.
4.3 Cleaning & Storage Best Practices
4.4 When to Replace
—
5. Integrating Harnesses Into a Complete Fall Protection Program
5.1 Develop a Site‑Specific Fall Protection Plan
1. Identify Hazards – Conduct a job‑site risk assessment to pinpoint work‑at‑height tasks.
2. Select Appropriate PPE – Match each task with the right harness, anchorage, and connector.
3. Establish Anchor Points – Use engineered roof anchors, beam clamps, or mobile elevated work platforms (MEWPs) that meet the required load rating.
4. Create Rescue Procedures – Plan for a prompt rescue (ideally within 15 minutes) using a rescue harness, rope‑bag system, or powered winch.
5.2 Training: The Human Element
5.3 Documentation & Record‑Keeping
Having these records not only satisfies OSHA compliance but also creates a culture of accountability and continuous improvement.
—
Conclusion – Key Takeaways for Safe Working at Height
1. Choose the right harness – Full‑body designs with proper weight capacity, ANSI/ASSE or EN certification, and the right attachment points are non‑negotiable.
2. Fit matters – A correctly adjusted harness distributes forces, reduces injury risk, and improves comfort for longer work periods.
3. Inspect daily, maintain regularly – Spotting a frayed strap or a cracked D‑ring before a fall can save lives.
4. Replace after impact or age – Even if it looks fine, a harness that has arrested a fall or is over five years old should be retired.
5. Integrate into a broader fall protection system – Anchor points, connectors, rescue plans, and ongoing training turn a good harness into an effective safety solution.
By mastering these fundamentals, you’ll not only comply with OSHA regulations but also foster a safety‑first mindset that protects workers, reduces downtime, and boosts productivity. Remember: the harness is only as effective as the system and people surrounding it. Equip your team with the right gear, knowledge, and procedures, and you’ll keep every fall well within the realm of “preventable.”
Stay safe, stay compliant, and keep reaching new heights—responsibly.